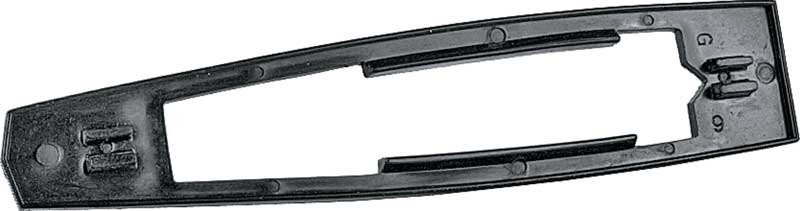
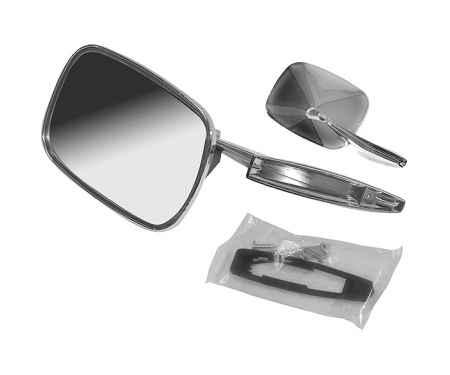
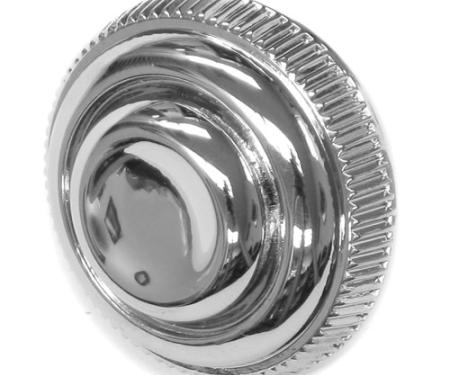
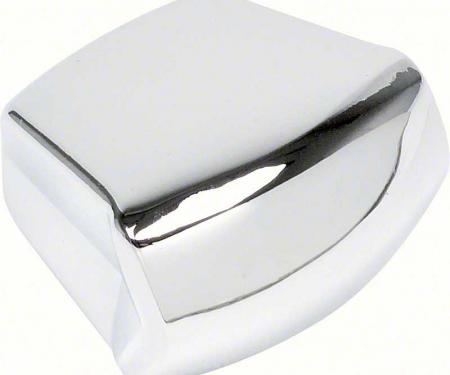
A direct-fit replacement mounting gasket designed for 1966–1972 GM cars to seal and cushion non-remote outside mirrors. This durable rubber gasket restores the original fit and appearance of the mirror base, prevents water intrusion and paint damage, and reduces vibration for a tighter, quieter mirror mount. It’s an easy, restoration-grade part that provides reliable protection and long-lasting performance for classic GM restorations or routine maintenance.
Features:
- Fits 1966–1972 GM cars; left or right side applications for non-remote outside mirrors.
- Made from resilient rubber/EPDM to resist weathering, compression, and aging.
- Seals the mirror base to prevent water intrusion and protect paint around the mounting area.
- Cushions the mirror to reduce vibration and rattles while driving.
- Direct-fit replacement for original-style mirror mounts; restores factory appearance.
- Simple installation — no special trim modification required; optional adhesive for permanent fit.
Installation / Application:
- Difficulty: 2/5
- Estimated time: 15–30 minutes
Instructions:
- Park vehicle on level ground and ensure windows are closed. Disconnect battery if working near powered components as a safety precaution.
- Access the mirror mounting nuts from the inside of the door by removing the interior access panel or trim, or lower the window if required to reach the studs.
- Use the appropriate socket or wrench to loosen and remove the mirror mounting nuts while supporting the mirror from the outside to prevent dropping.
- Carefully pull the mirror away from the door. Remove the old gasket and clean the mounting surface thoroughly with a rag and cleaner; remove old adhesive or debris.
- Test-fit the new gasket over the mirror studs and against the door to confirm alignment of holes and fit.
- (Optional) Apply a thin bead of gasket adhesive or silicone sealant to the gasket contact surface for a more permanent seal.
- Position the gasket and place the mirror onto the studs, ensuring the gasket stays correctly seated between the mirror base and the door.
- From inside the door, reinstall and tighten the mirror mounting nuts to a snug, even torque. Avoid over-tightening to prevent crushing the gasket or damaging paint.
- Reinstall any interior access panels or trim and verify mirror alignment. Check for gaps and test drive to confirm reduced vibration and secure fit.
Vehicle Fitment:
The Vehicle Fitment Guide is to be used as a general reference. The data has been provided by our suppliers and manufacturers and may contain errors or incorrect data. Always refer to a professional to verify correct fitment for your vehicle.
| Make |
Model |
Years |
| Chevrolet |
Bel Air |
1967 - 1972 |
| Chevrolet |
Biscayne |
1967 - 1972 |
| Chevrolet |
Brookwood |
1969 - 1972 |
| Chevrolet |
Camaro |
1967 - 1969 |
| Chevrolet |
Caprice |
1967 - 1972 |
| Chevrolet |
Chevelle |
1966 - 1972 |
| Chevrolet |
Chevy II |
1966 - 1968 |
| Chevrolet |
Corvair |
1966 - 1969 |
| Chevrolet |
El Camino |
1966 - 1972 |
| Chevrolet |
Estate |
1969 |
| Chevrolet |
Impala |
1967 - 1972 |
| Chevrolet |
Kingswood |
1969 - 1972 |
| Chevrolet |
Monte Carlo |
1970 - 1972 |
| Chevrolet |
Nova |
1969 - 1973 |
| Chevrolet |
Townsman |
1969 - 1972 |
| Pontiac |
Firebird |
1967 - 1969 |