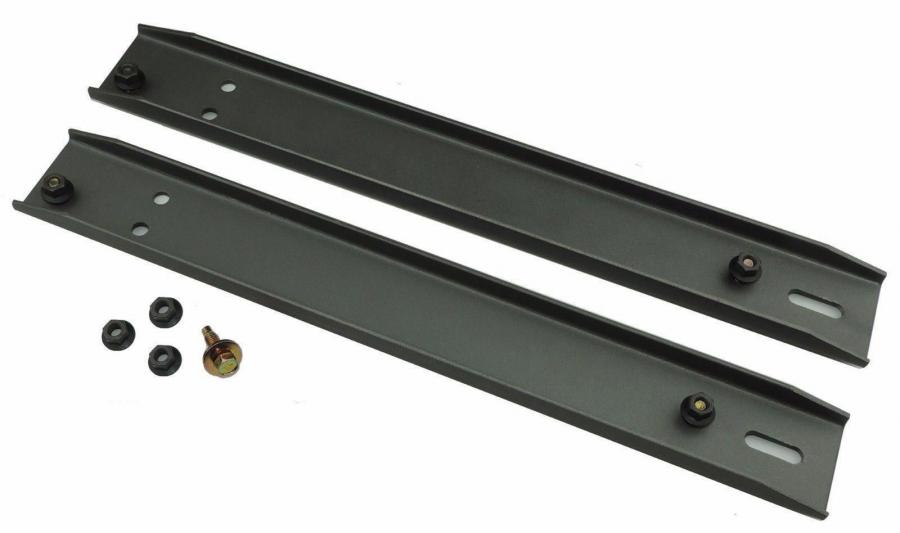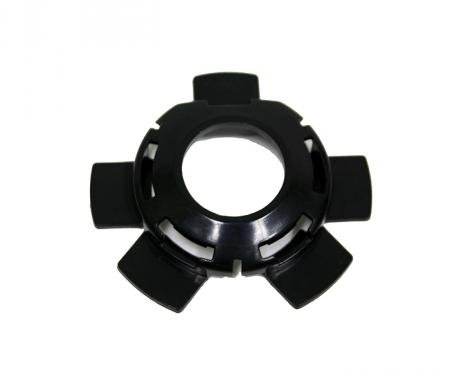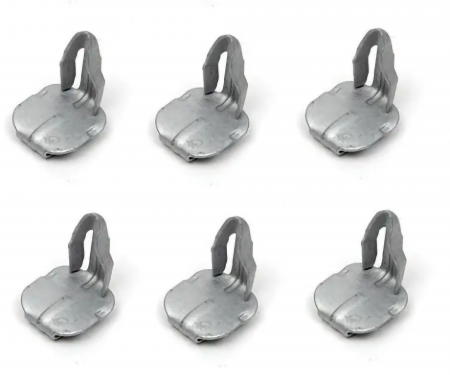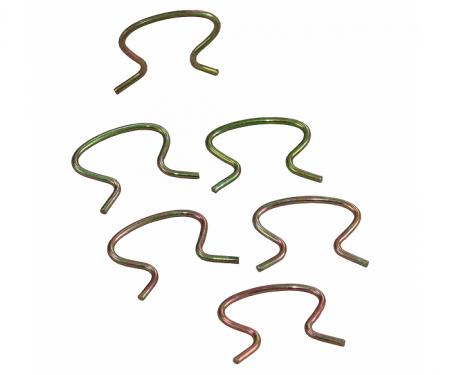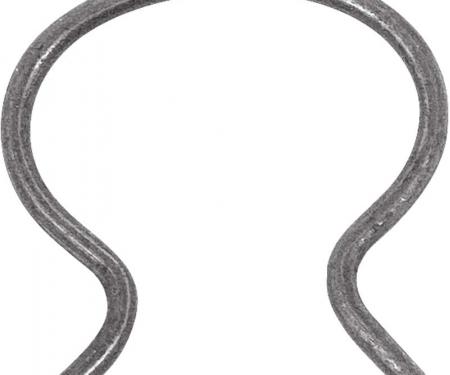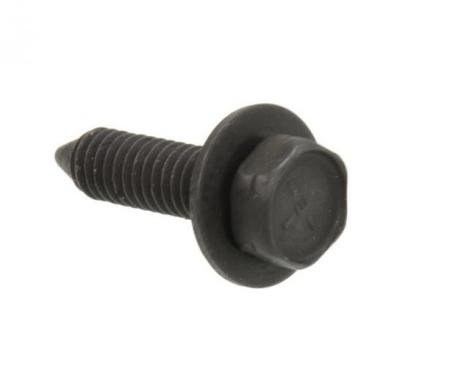
Driver-side bucket seat track extenders for 1966–1972 GM A-Body cars provide a precise, durable adapter that restores correct seat mounting and alignment when installing rebuilt or aftermarket seats. These extenders reposition and securely fasten the seat track to the factory floor mounts, improving fitment, safety, and ride comfort. Constructed from heavy-gauge steel with a corrosion-resistant finish, they offer long-term reliability and a straightforward installation that helps complete interior restorations or seat upgrades.
Features:
- Fits 1966–1972 GM A-Body vehicles (driver side only).
- Heavy-gauge steel construction with corrosion-resistant coating for lasting durability.
- Driver-side only part designed to restore correct seat track position and alignment.
- Secures factory or aftermarket bucket seats to original floor mounting points.
- Direct bolt-in design for a clean, factory-style installation.
- Ideal for interior restorations, seat upgrades, and improving seat safety and stability.
Installation / Application:
- Difficulty: 2/5
- Estimated time: 30-60 minutes
Instructions:
- If the vehicle has seat wiring (airbag, sensors, power seats), disconnect the negative battery terminal and wait a few minutes before starting.
- Move the seat to its most accessible position. Support the seat with a floor jack or assistant and remove the seat mounting bolts using the socket set.
- Carefully lift the seat out of the car or tilt it to access the seat track mounting points; set the seat on a protected surface if removed.
- Remove any existing track hardware or trim that interferes with the extenders and clean mounting surfaces. Apply penetrating lubricant to any rusty bolts if needed.
- Position the driver-side track extenders against the factory floor bolt pattern or original track mounting points, aligning all holes.
- Bolt the extenders to the floor using the supplied or appropriate grade fasteners. Hand-start all bolts, then tighten evenly to seat the extender flat against the floor.
- Reattach the seat track to the extender, ensuring correct orientation and smooth movement. Tighten all mounting bolts to factory torque specifications or until securely fastened.
- Reinstall the seat into the car (if removed), reconnect any wiring, and reconnect the battery. Test seat fore/aft movement and locking mechanism for proper operation.
- Double-check all fasteners after a short test drive and retorque if necessary.
About Redline Restomotive
Redline Restomotive® has established itself as a premier brand in the world of classic car restoration, providing enthusiasts with high-quality parts that meet the exacting standards of original manufacturer specifications. Dedicated to the preservation of American automotive history, Redline Restomotive® combines advanced manufacturing techniques with an in-depth understanding of vintage vehicles. The result is a range of products that seamlessly blend into the design and function of classic cars, giving restorers and collectors the assurance that each part reflects the era’s style, quality, and performance.
Crafted for both durability and aesthetic accuracy, Redline Restomotive® parts are ideal for those who value authenticity in their restoration projects. Whether restoring a car for display, personal enjoyment, or roadworthiness, customers rely on Redline Restomotive® for parts that not only fit perfectly but also contribute to the overall integrity and longevity of the vehicle. Each item is carefully engineered to replicate the fit, finish, and functionality of original components, making Redline Restomotive® a trusted name in restoration circles.
The extensive product catalog from Redline Restomotive® covers a wide variety of categories, allowing classic car owners to source everything from essential mechanical parts to subtle interior details. This comprehensive approach enables a cohesive restoration experience, where customers can confidently maintain both the exterior and interior authenticity of their vehicles. With Redline Restomotive®, every detail matters, providing the perfect balance between innovation and tradition for classic car preservation.
For more information or to explore their product offerings, you can visit retailers such as Muscle Cars & Classics, which feature a comprehensive selection of Redline Restomotive® products.
Vehicle Fitment:
The Vehicle Fitment Guide is to be used as a general reference. The data has been provided by our suppliers and manufacturers and may contain errors or incorrect data. Always refer to a professional to verify correct fitment for your vehicle.
| Make |
Model |
Years |
| Buick |
Skylark |
1966 - 1972 |
| Buick |
Special |
1966 - 1969 |
| Buick |
Sportwagon |
1966 - 1972 |
| Chevrolet |
Caprice |
1970 - 1972 |
| Chevrolet |
Chevelle |
1966 - 1972 |
| Chevrolet |
Chevy II |
1966 - 1968 |
| Chevrolet |
El Camino |
1966 - 1972 |
| Chevrolet |
Impala |
1970 - 1972 |
| Chevrolet |
Monte Carlo |
1970 - 1972 |
| Chevrolet |
Nova |
1969 - 1974 |
| Oldsmobile |
442 |
1966 - 1971 |
| Oldsmobile |
Cutlass Supreme |
1967 - 1972 |
| Oldsmobile |
Cutlass |
1967 - 1972 |
| Oldsmobile |
F85 |
1966 - 1972 |
| Oldsmobile |
Vista Cruiser |
1966 - 1972 |
| Pontiac |
GTO |
1966 - 1972 |
| Pontiac |
LeMans |
1966 - 1972 |
| Pontiac |
Tempest |
1966 - 1970 |